BOOKBINDING - Lesson 4 - 17/3/21
If you would like to listen to this episode rather than read it, please click HERE
LONG STITCH BINDINGS...
Yes, it's been a while since I have posted anything on here - there is always a rather exhausted lull once the marmalade season is done and dusted - and this year I made over 90lbs... If I'm honest, I think this will be the last year I do it 'commercially': with general inflation at 10% (that's in real, day-to-day terms, not massaged government figures) and the actual oranges going up a good 17%, it's just not viable any more. We'll see how much I have left at the end of the year...
Anyway, it's bookbinding we're talking about today, not marmalade!
I'd like to describe a particular style of long stitch binding that uses tabs (and sometimes slots). It can be made quite decorative by, forinstance, using different-coloured materials for the front and back covers. The easiest thing there is to cut out two in two different colours, then swap out the pieces... so, here goes.
As usual, I am working with A4 paper and what is to hand in the way of cardboard - bearing in mind we are still in 'Lockdown' and thus paper shopping in either Leominster or Hereford is not an option. You could of course use leather - or even plastic 😟 For this episode, I have made my own decorated cover very simply, using felt-tips and a pen. I think there may be a future episode on decorating paper.
First of all, fold up a stack of sections (A6 for me); two stacks in fact if you are swapping-out covers. As usual, place between boards and leave under weights a good 24 hours; more is probably better...
To get the basic cover size, measure the sections and add 2-3mm to top and bottom, plus 2-3mm to fore-edge. NB: if you have the material, you could then add the spine to fore-edge measurement again so that, later, you could glue this excess to itself to make a stronger board (and the folded edge gives a better finish).
Measure the slightly compressed thickness of your stack of sections to get the spine measurement. Multiply by about three (you can always trim off the excess later) and then mark down the basic cover size again, something like this:
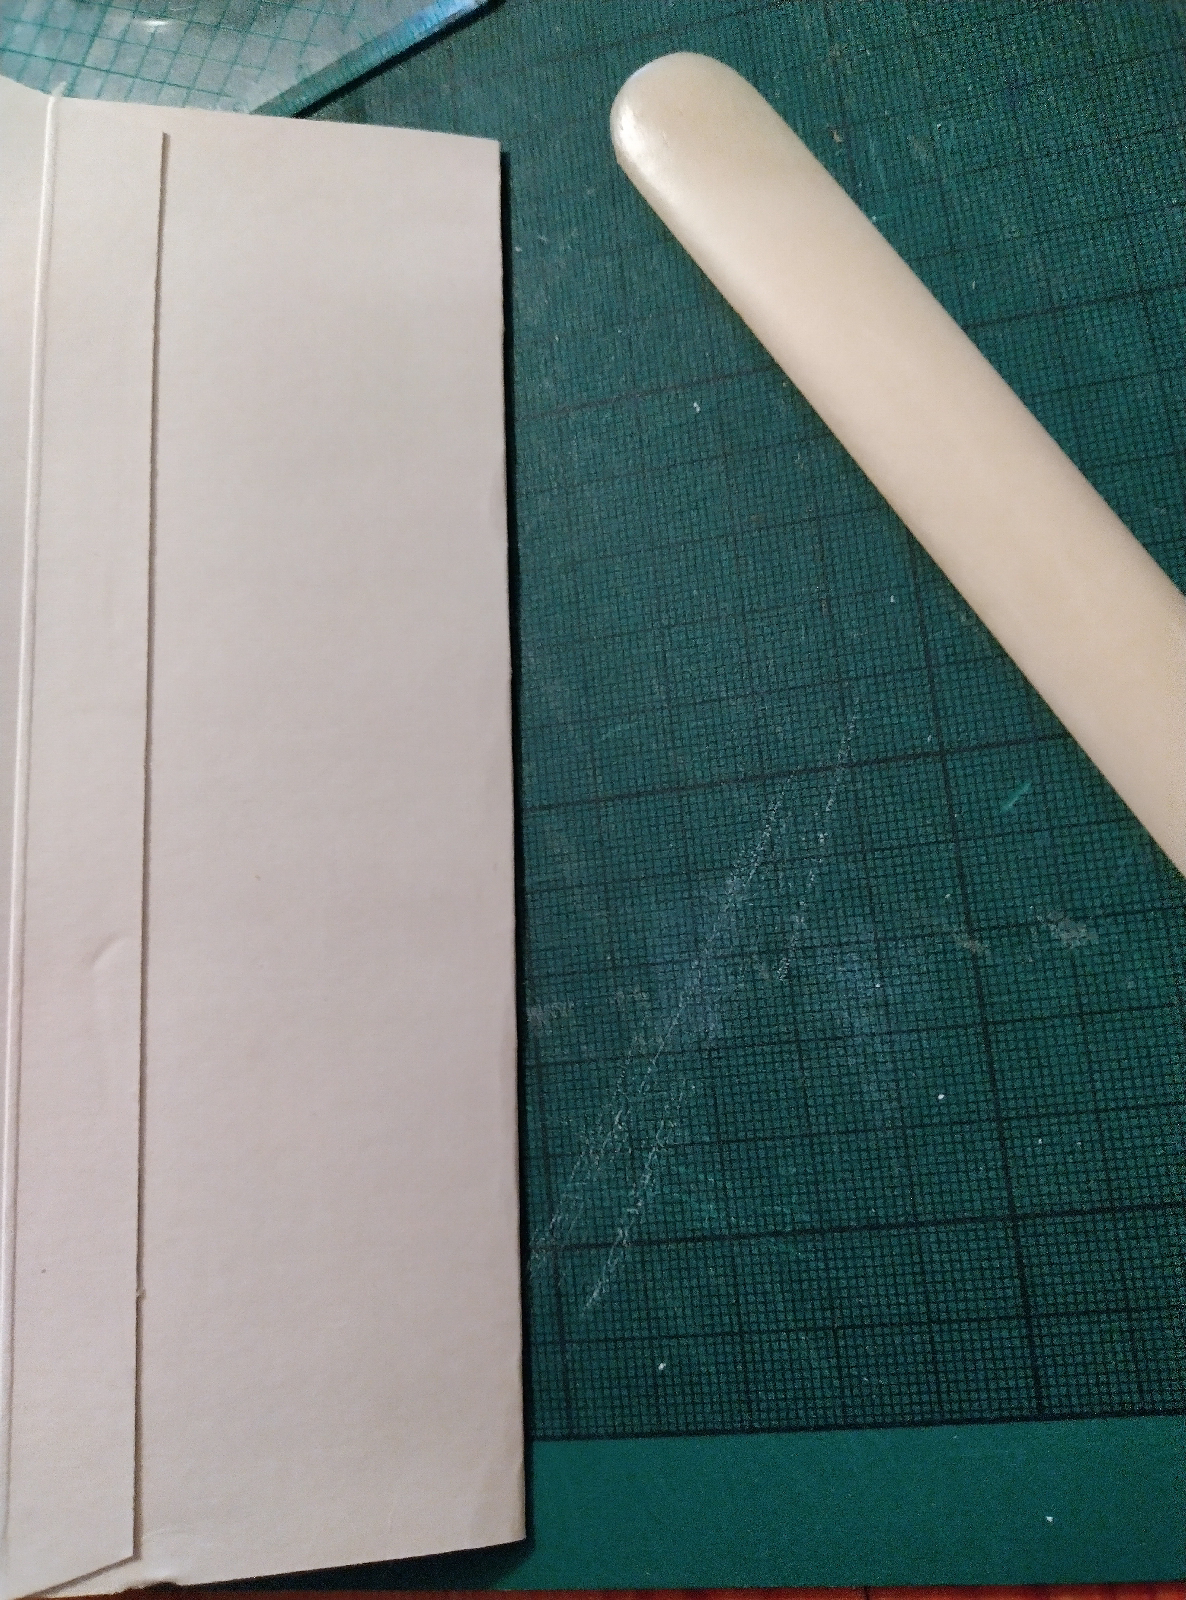
Divide the spine section into a number of horizontal strips to your taste. Probably no less than 2cm, as these are what you will be sewing the sections over. Bone fold on all the vertical lines and indeed fold. In my example, I've chosen to have three tabs for the front cover and two for the back (which latter will be sewn over). You want to avoid using the top and bottom tabs for sewing over as the tops of your stitches will be visible and therefore vulnerable. Once you've cut the two covers, give all the folds another good going over with the bone folder to set the crease.
Grab your pile of sections and sew them round the tabs.
Slot the other cover into place, fold down/up the ends of the tabs and either glue down onto the cover, as I have, or sew them on, or make slots and feed them in, or... or... or... Finally, fold in the extra bit of the the cover and glue down with a bead of glue along the edge. For a neater look, open the first and last pages and then glue the cover down onto them.
The finished book:
Experiment - have fun!
Sadly, this will probably be the last in this series on bookbinding, for the moment. It starts to get more complicated from now on and, to be honest, there are a great many excellent videos on You Tube that will explain it better. Have a search for long stitch binding, riffle through what you find, choose someone you like - and good luck!
In the meantime, I hope to get back to other posts - such as my banyan, which is coming along nicely 😃


Comments