BOOKBINDING - Lesson 1 08/1/21
As usual, an audio version of this post is to be found HERE
So, you have assembled some tools, both you and your workspace are clean and you are ready to go!
Let's start with paper-folding - quite a cathartic process, once you get the hang of it. Assuming A4 (it's a nice easy size to work with at first) place the sheet with the long side running side-to-side in front of you (called landscape).
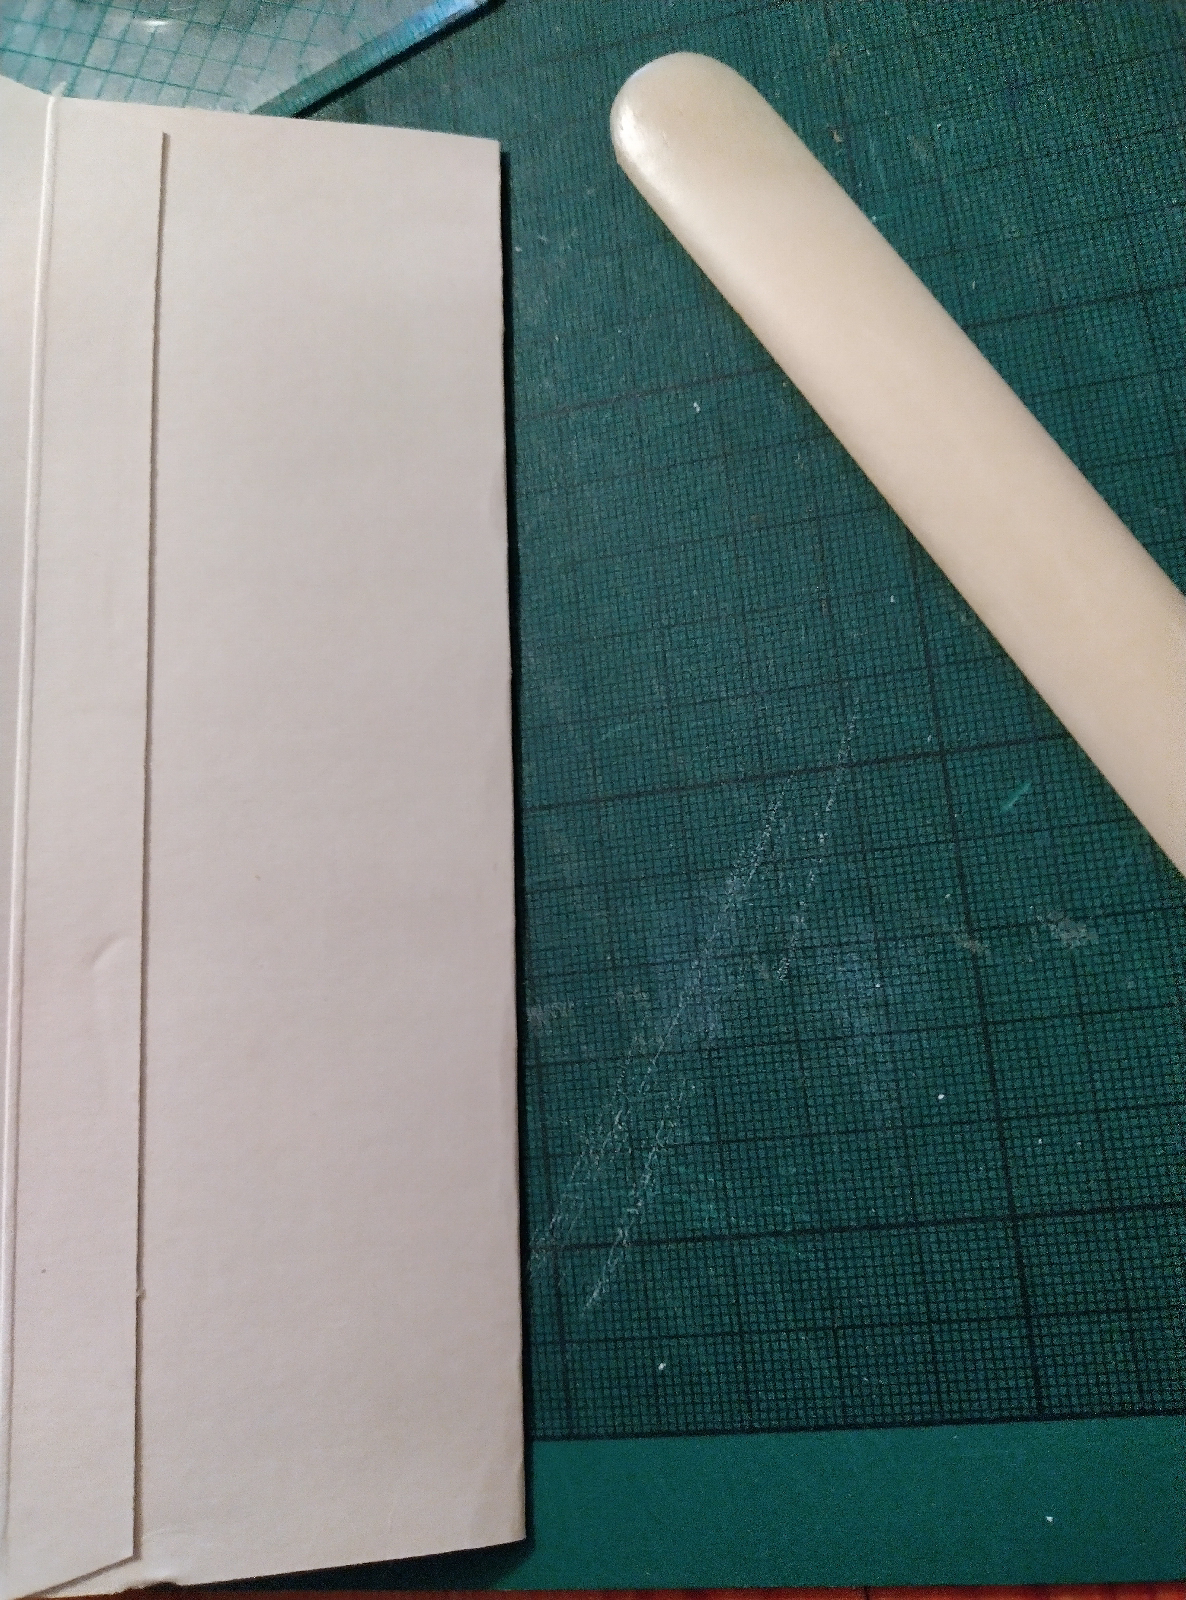
Assuming a right-handed worker, take the right edge and fold it over to the left edge, lining up the edges before lightly pressing down on the fold, then use the bone-folder to press more firmly and 'set' the crease. Turn the paper and fold again - at right angles to the initial fold.With larger sheets you may do this several times. Interesting useless fact: it is nigh impossible to fold a sheet of paper more than seven times...
Unfold that sheet by one half and use your knife to cut the fold thus: Keep your left fingers on the paper with the fold going roughly SE to NW in front of you.
The knife should be drawn smoothly along that fold with gentle pressure; on no account 'saw' or push - if it's a long fold, just a series of pulls along the same SE to NW axis should do it. The idea behind the blade being blunt is to make sure the paper fibres are parted along the fold; if the blade were sharp the knife might cut to either side of the fold. Try it both ways if you like, using the blunt knife first and then something super sharp. This is something that's very difficult to describe in words, but just keep cutting and folding paper until you get the hang of it. Has to be said that photocopy paper is not great to work on, so try and move on to something better as soon as possible - it's a different experience! In fact, just try cutting and folding a whole series of papers to see the differences: phone directory paper, glossy magazines/colour supplements, even newspaper, etc.Once you've had a play, take two sheets of paper and fold as above. Unfold once and cut along that fold. Re-fold and align the sheets by tapping together on the smooth edge. One always tries to have a smooth edge on the top of a book, so dust is less likely to gather. This group of folded sheets (whether it's two, three, four, whatever) is called a section, or text block - regardless of whether there's any text!
Then we need to pierce holes. Generally with books, the visual centre is a smidge above actual centre, so take a piece of scrap paper the height of the page by about 1" wide. Fold the strip so one half is about 5mm shorter than the other; this becomes the top half. Then fold each end to that middle point; you will have a piece of paper with three horizontal creases on it. Fold the whole thing in half lengthwise and draw an arrow to indicate the top (the shorter fold) then mark where the horizontal and vertical folds meet with a pencilled cross.Place this in the middle of the 'book' and use the long, sharp needle to pierce holes through from the centre outwards. It helps if the pages are about 45 degrees closed. Discard the folded slip, unless you are planning to make more books in this style.Thread one of the blunt needles with about 18" of thread and push it through the centre hole from inside to outside, leaving a tail of a couple of inches inside the fold.
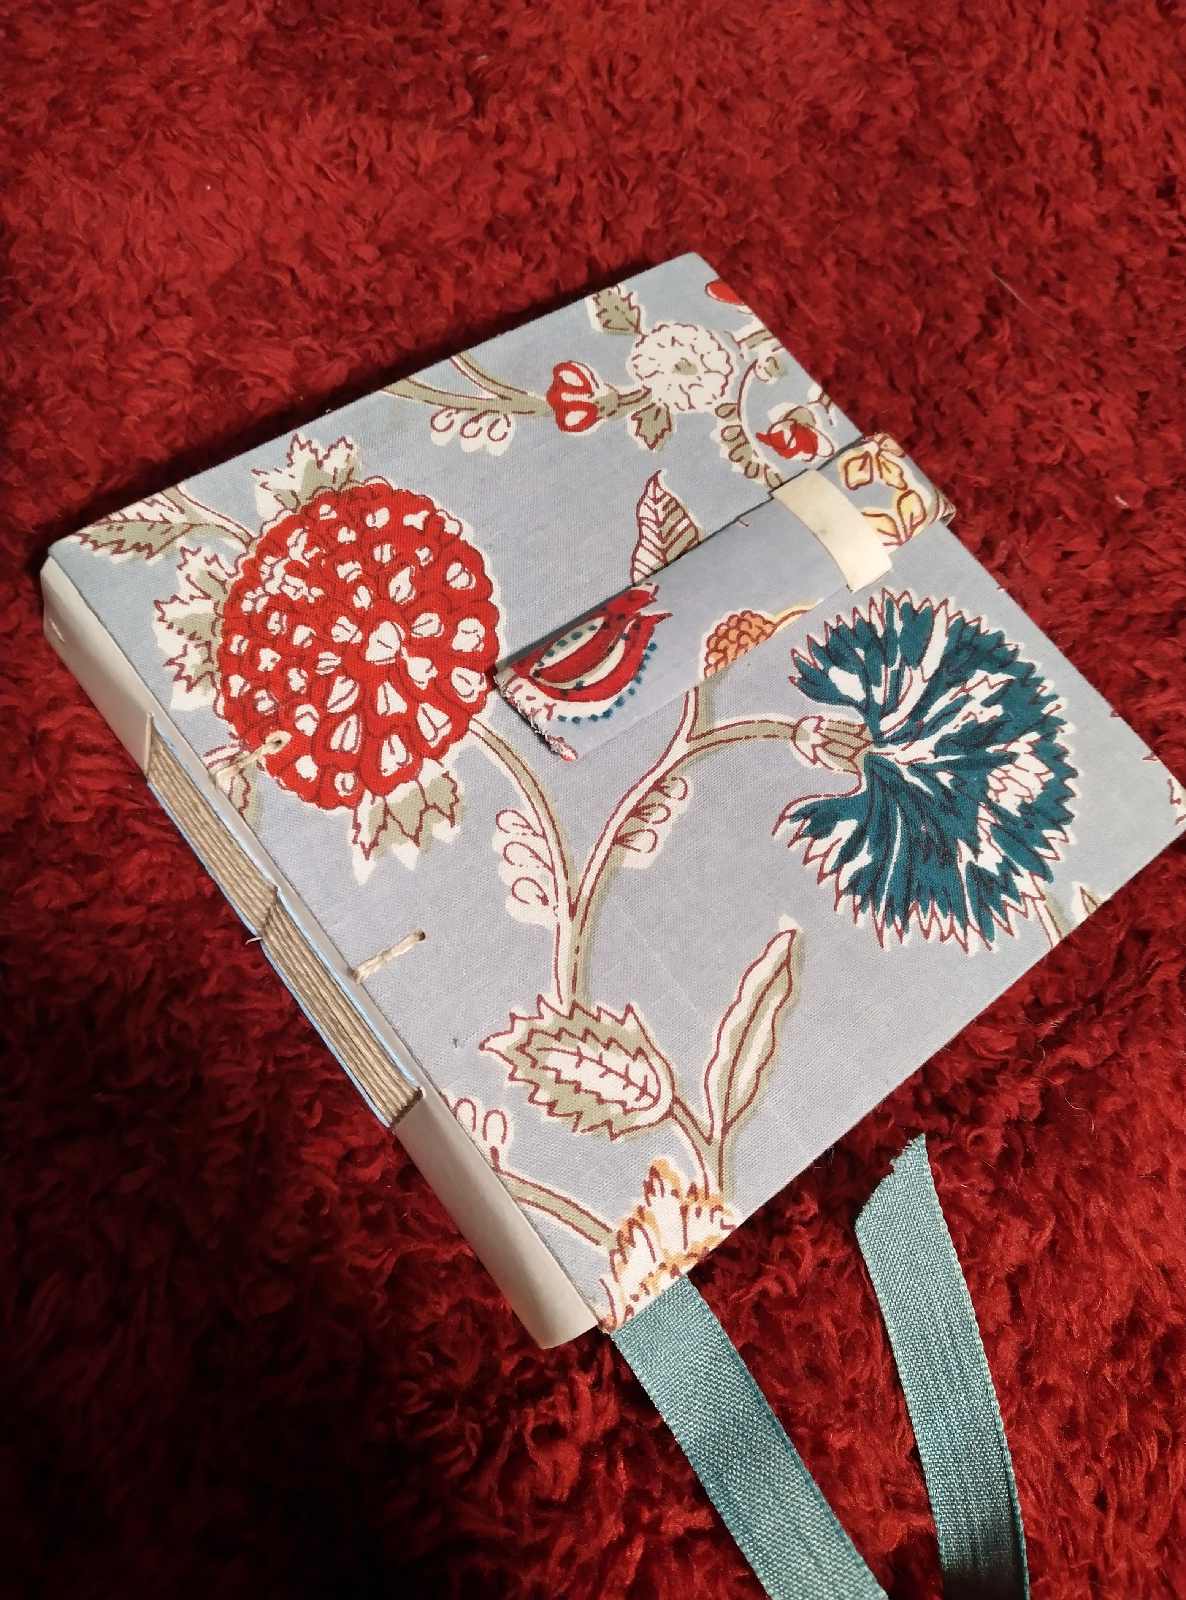
Then return back in through the top hole and take the needle all the way down to the bottom hole. Exit and come back in via the centre hole, making sure that it is on the other side of the long centre thread. Tie a reef (square) knot over that centre thread. Cut the ends off at about 1/2"/10mm. Traditionally, the top thread end is fractionally shorter than the bottom one. Just do not cut too short!There: you have just made what is called a single section pamphlet binding! If you wish, you could cut a sheet of coloured paper to the same size as the text block, fold it to the outside of the book and sew through all layers.
If you want a more decorative effect, try sewing with wool or coloured thead, working from the outside in, so the knot is on the book's spine. In this instance you could tie a bow for decoration, say.Of course you can cut and fold more sheets of paper to make your 'section' thicker, but more that about six and it's likely to become unwieldy.
Have fun... and... practice, practice, practice!


Comments