Posts

CROCHET PATTERNS 11th April 2021
Image
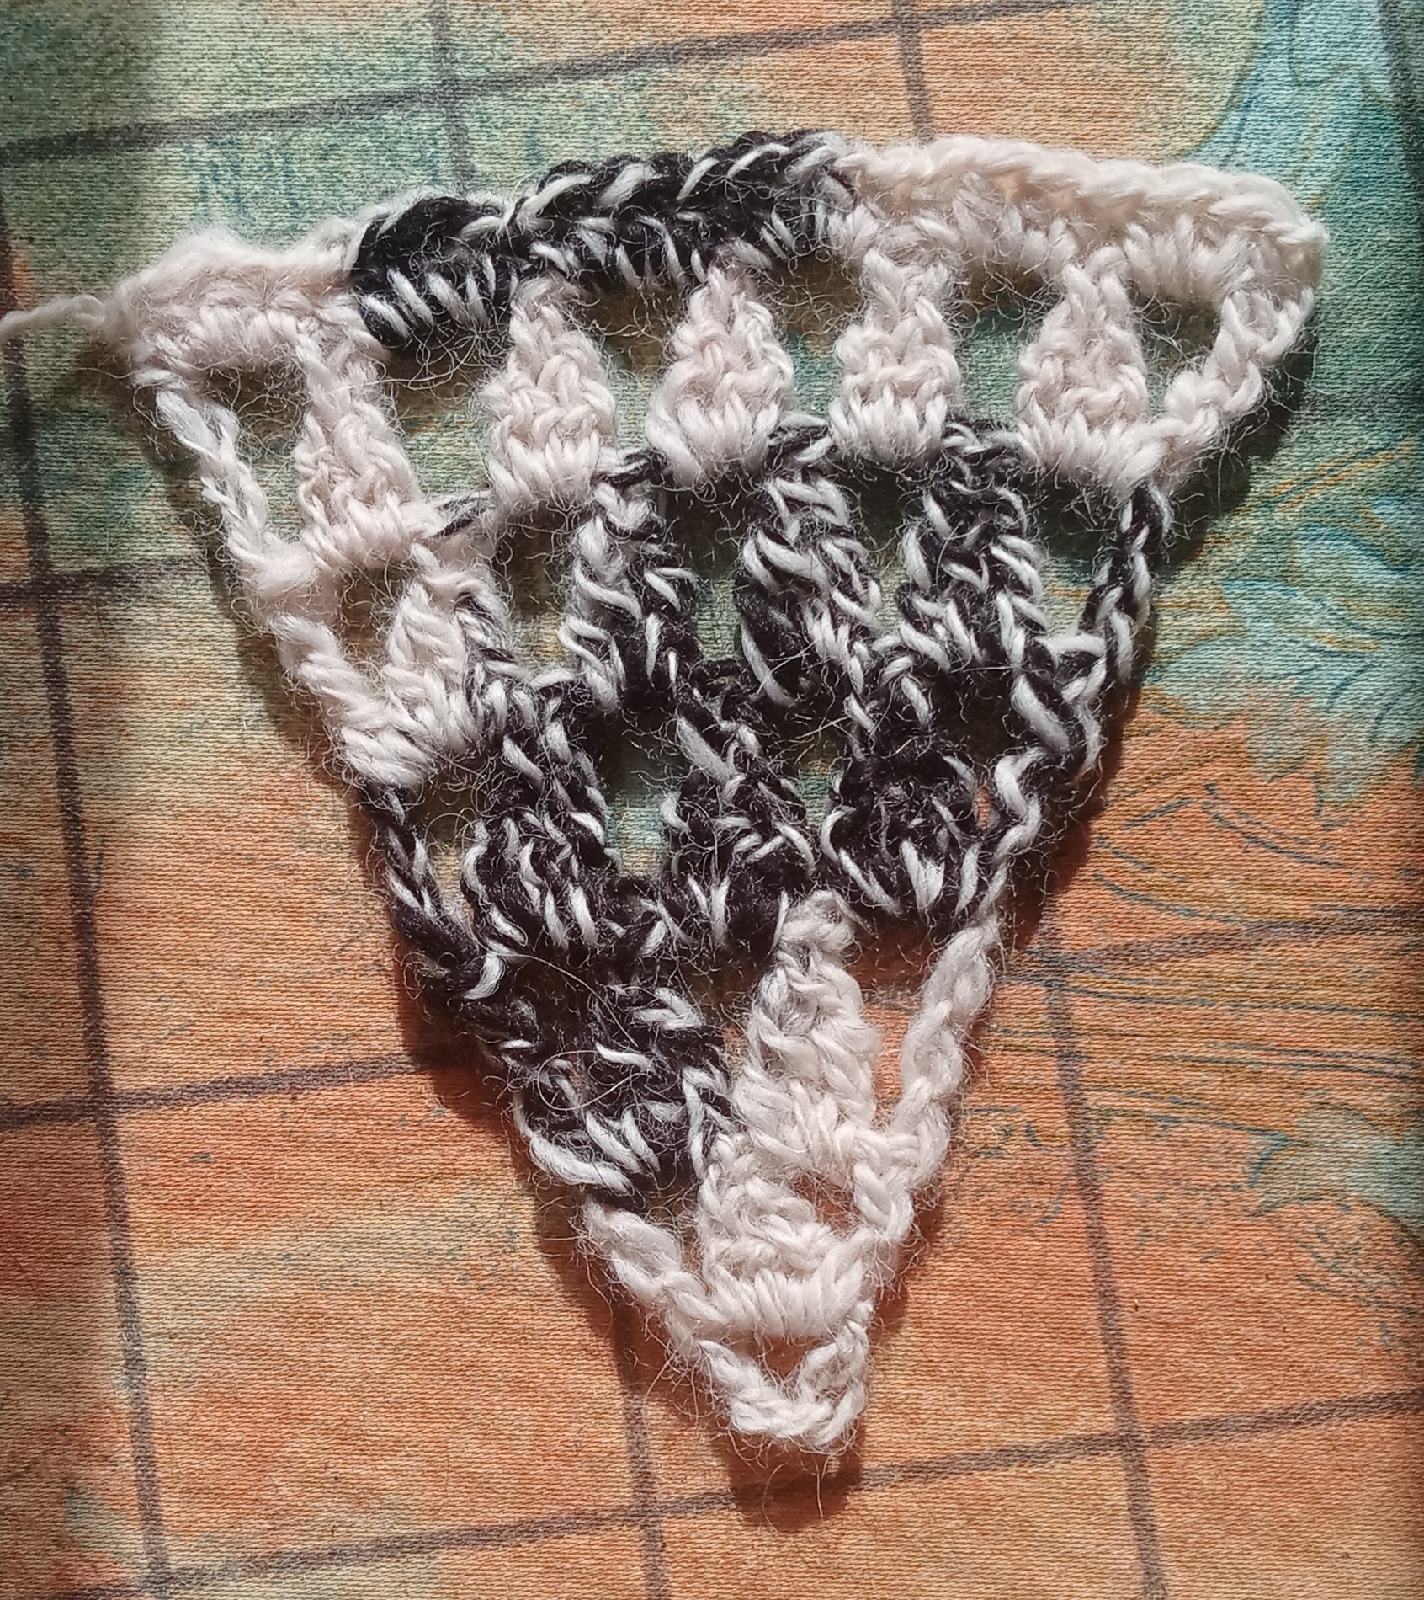
As usual,  the spoken bit's HERE This time last year, at the beginning of the first lockdown, I made a list of all the things I wanted to achieve.  Amongst a wide variety of stuff was learning to crochet.  Now there are many thousands of good people out there in You Tube Land showing off their crochet skills, some of them are even quite good teachers.  I was fairly ruthless in my elimination - some folk have annoying mannerisms of speech, some I simply could not understand properly (there are some American accents I find almost impenetrable I'm afraid - I am British, after all!).   But in the end I had a nice selection of channels who gave out good information and explained things to my satisfaction.  Among several, there were Bonny Bay, Hooked by Robin, Olga Poltrova, Fiber Spider and Mikey from The Crochet Crowd.  In the process of all this learning, I found myself downloading patterns where I could and learning to read them (thank y...
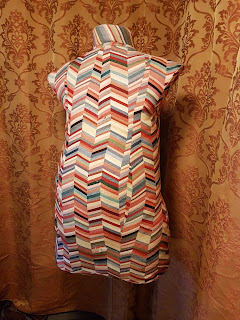
THE BANYAN - SEWING THE SILK 5th April 2021

Image
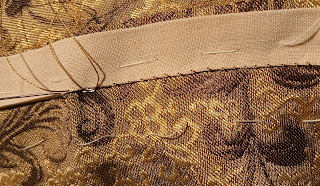
If you'd like to listen rather than read, then please do so HERE Sewing the silk outer layer of this project has been (well, still is!) an interesting journey... The fabric is incredibly slippery and I have to tack the relevant pieces together about 1.5" to 2" away from the edge before I can consider doing any proper tacking/sewing. The photo shows the outer tacking as well as a linen tape (part of an old sheet... tinted with tea, naturally!) tacked into place to enable the actual stitching.  Lovely silk thread from  De Vere Yarns , a real pleasure to use. I'm pleased to note (lower half of the photo) that I seem to stitch at eight stitches to the inch: in real terms, this means sixteen as it is a back stitch. Quite respectable! Whether this use of tape is historically accurate I'm not sure, but it makes for a stronger, straighter seam (in my view) and has the added bonus that the top edge can be sewn down to cover the raw, easily-frayed edge. Frankly, I was expec...

BACK TO THE BANYAN WE WILL GO... 28th March 2021

Image
If you'd like the spoken version, clickety-poo   HERE So good people, it's back to the banyan we will go... The banyan project got rather side-tracked last year, partly by the desire to make a mannequin of myself first: Then, I don't know... 'life'... intervened, not to say the making of the 'Good Yule' cards! So, a quick re-cap is in order I think.  If you have followed my blog for a while you may remember I toned-down my lovely, hand-printed Indian cotton with some strong tea, just to knock it back a bit: Then I decided to interline said cotton with some well-washed curtain lining, to give it a bit of substance. This was a rather long and tedious process, familiar to quilters, no doubt, but involved essentially tacking the one to the other with a fine blue cotton thread that hardly shows on the cotton chintz: Next up was a sort of short inner jacket of the chintz padded with cotton domette, as an extra layer in winter. A very, VERY tedious process, of whic...

BOOKBINDING - Lesson 4 - 17/3/21

Image
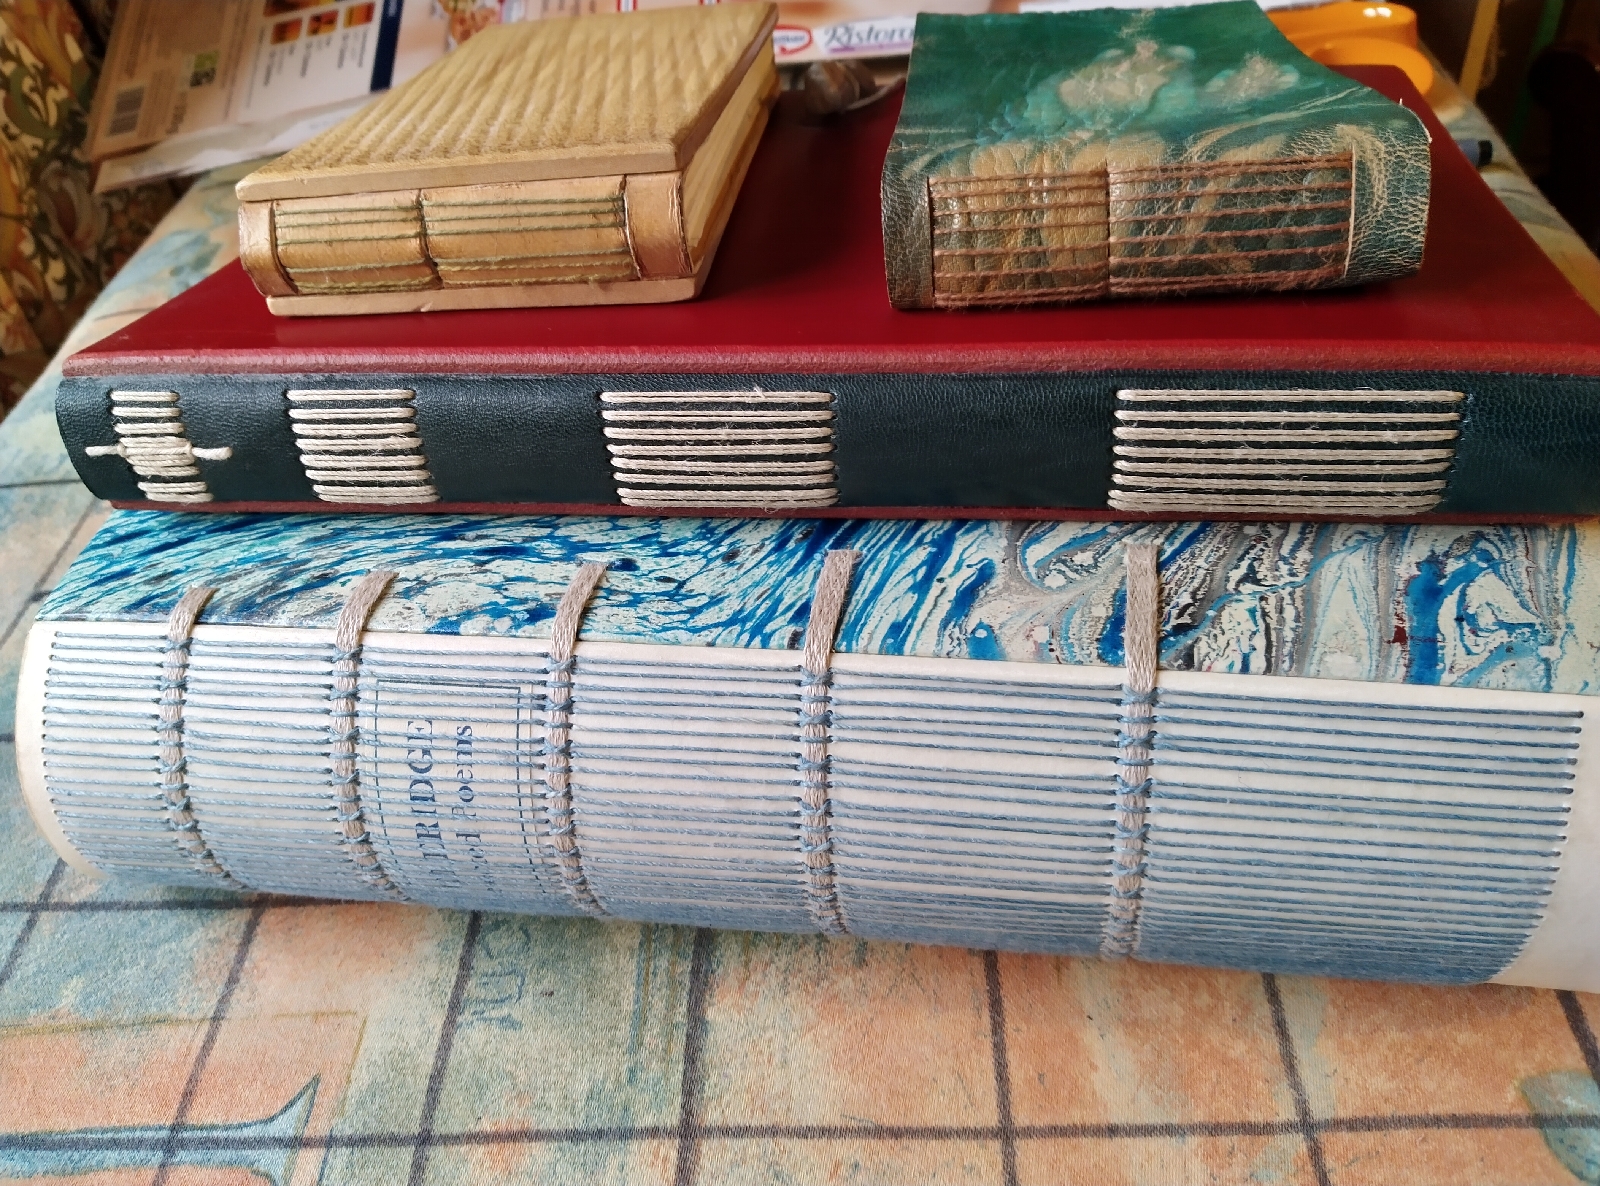
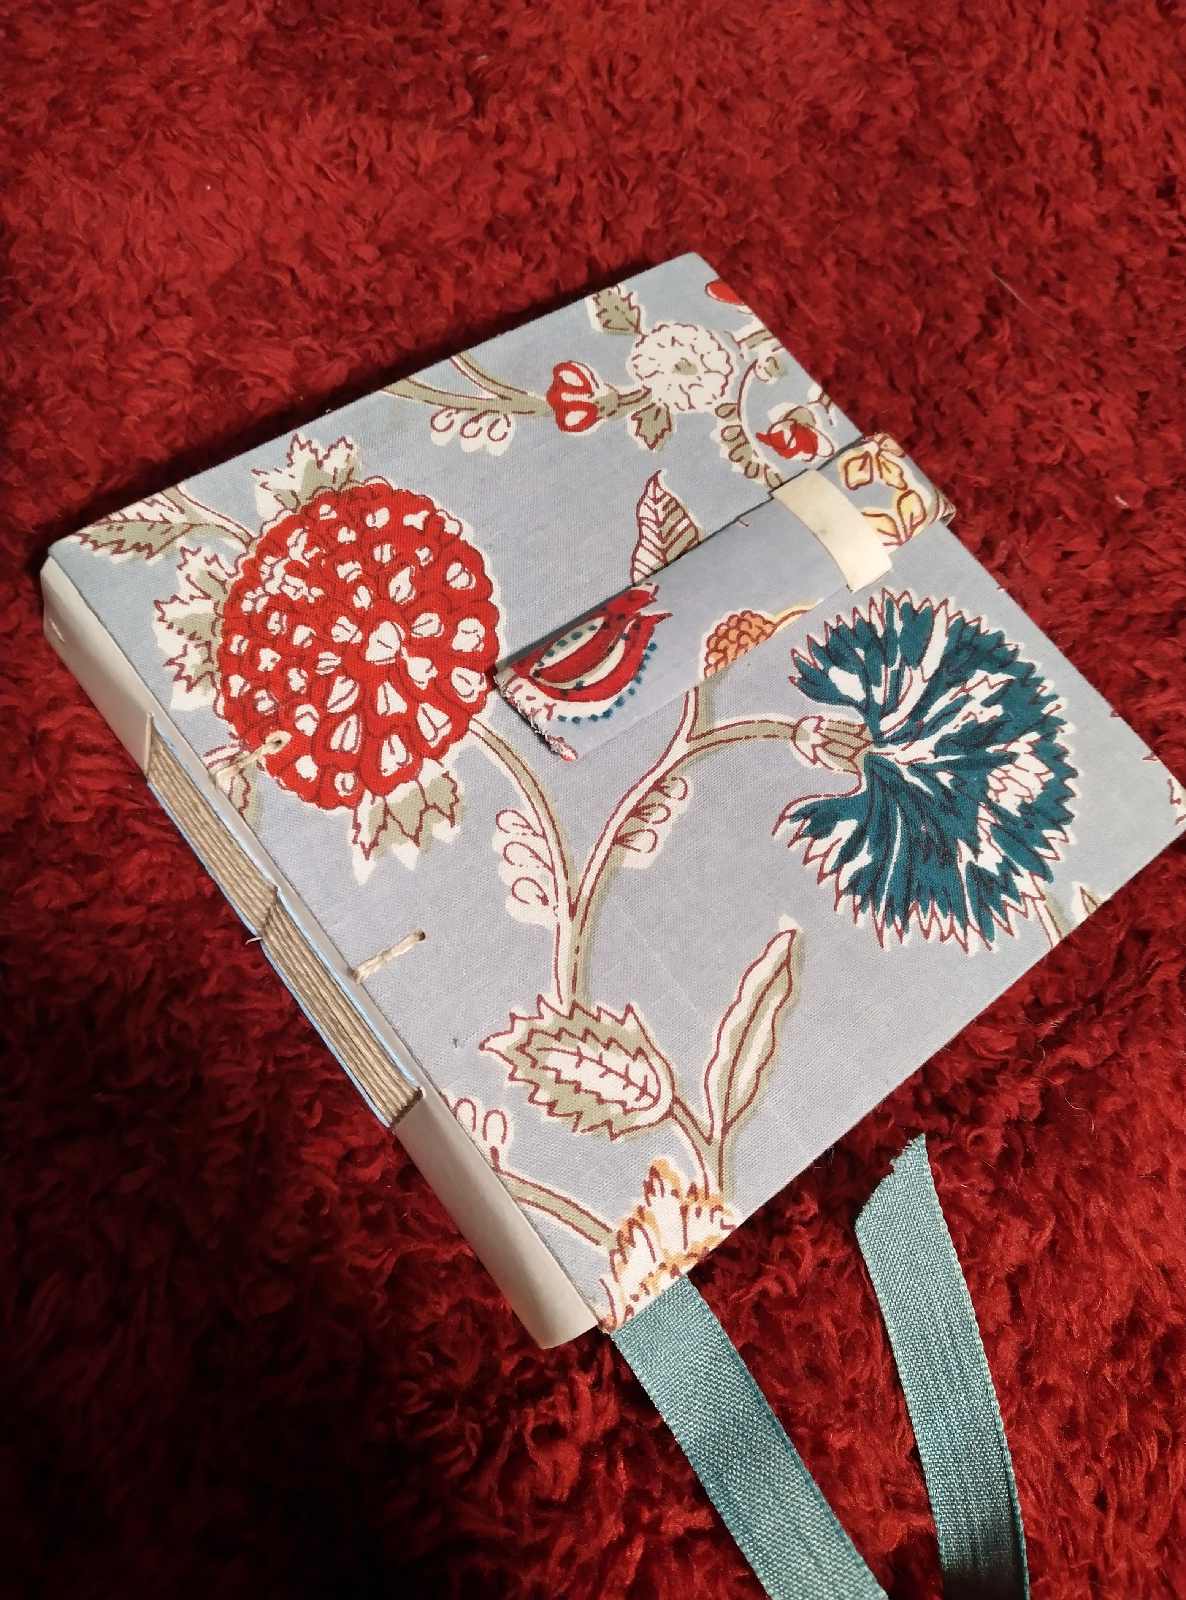
If you would like to listen to this episode rather than read it, please click HERE LONG STITCH BINDINGS... Yes, it's been a while since I have posted anything on here - there is always a rather exhausted lull once the marmalade season is done and dusted - and this year I made over 90lbs... If I'm honest, I think this will be the last year I do it 'commercially': with general inflation at 10% (that's in real, day-to-day terms, not massaged government figures) and the actual oranges going up a good 17% , it's just not viable any more. We'll see how much I have left at the end of the year... Anyway, it's bookbinding we're talking about today, not marmalade! I'd like to describe a particular style of long stitch binding that uses tabs (and sometimes slots). It can be made quite decorative by, forinstance, using different-coloured materials for the front and back covers. The easiest thing there is to cut out two in two different colours, then swap out...

BOOKBINDING - Lesson 3 —. 19/1/21

Image
The audio version of this post is available   HERE First of all, my apologies that this post has been a little slow in coming, but the marmalade season is upon me (about which I may formulate a post in due course...) Anyway, this lesson is about how to make books with more than one section, which is where things start to get a bit more complicated - and a bit more difficult to explain! There are various ways to connect a number of single sections to make a bigger book. The easiest ones are called 'non-adhesive' bindings - and also long stitch bindings - and are what we'll be focusing on here.  Historically, this and other very simple forms of binding go back to, if I remember rightly, the 15th century, a time when students had to provide their own text books. These arrived from the printer's as unbound sheets and the students invented some very ingenious ways of keeping them together. Somewhere there is a photo of said books, from a museum, but the internet is being ver...

BOOKBINDING - Lesson 2 17/1/21

Image
Should you wish to listen to this blog post, please press  HERE   So now you have the basics of sewing a little book under your belt... it is time to talk about paper. Hopefully you followed my suggestion of cutting different sorts of paper - and perhaps you noticed that sometimes a piece of paper cuts, or folds, more easily in one direction than the other. This is because paper has a 'grain' (rather like wood).  I don't want to disappear down the very large rabbit hole that is paper-making, but it is useful to know that whatever base material is used for making paper - wood-pulp, plant fibres, mulberry bark, cotton or indeed old paper - it is broken down to its basic fibres and mixed with a lot of water to make a slurry, which then finds its way onto some sort of fine mesh. The way the fibres are aligned in the paper-making process produces the grain. One direction will always be easier to fold on a piece of paper than another. That is called folding along,...

BOOKBINDING - Lesson 1 08/1/21

Image
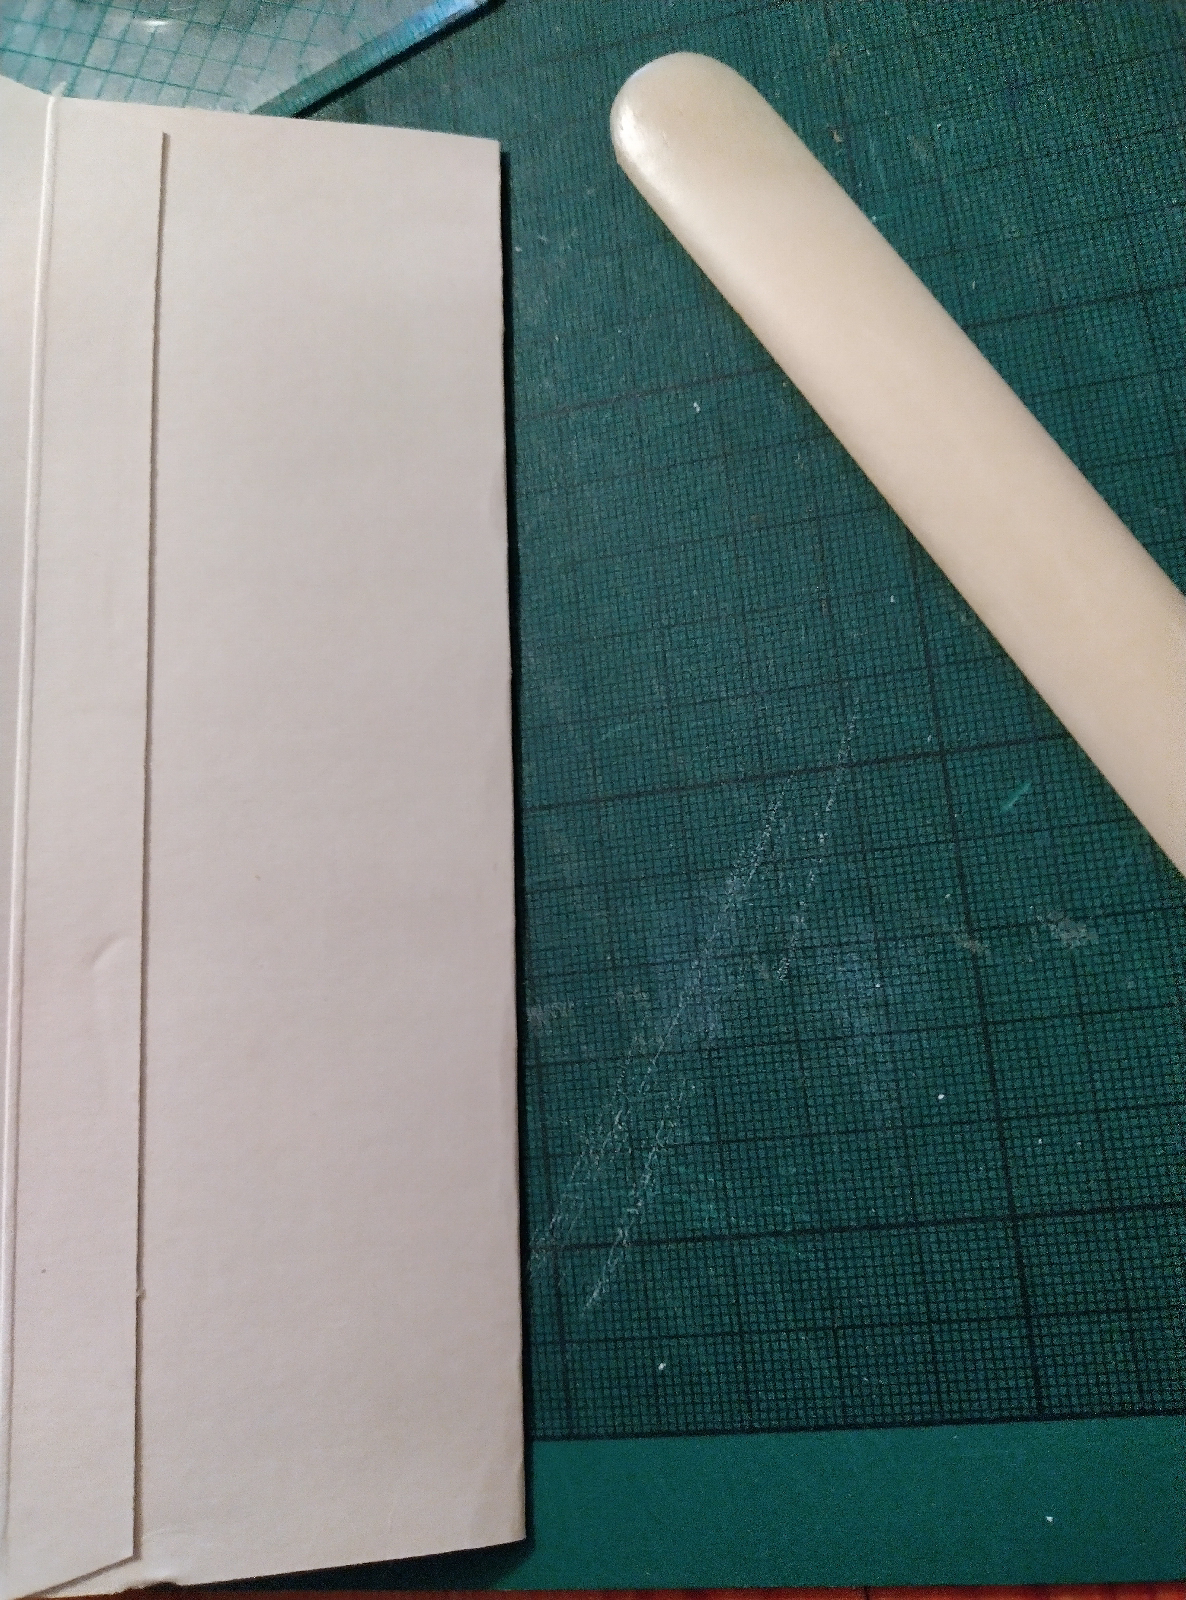
As usual, an audio version of this post is to be found   HERE So, you have assembled some tools, both you and your workspace are clean and you are ready to go! Let's start with paper-folding - quite a cathartic process, once you get the hang of it. Assuming A4 (it's a nice easy size to work with at first) place the sheet with the long side running side-to-side in front of you (called landscape).  Assuming a right-handed worker, take the right edge and fold it over to the left edge, lining up the edges before lightly pressing down on the fold, then use the bone-folder to press more firmly and 'set' the crease. Turn the paper and fold again - at right angles to the initial fold.  With larger sheets you may do this several times. Interesting useless fact: it is nigh impossible to fold a sheet of paper more than seven times... Unfold that sheet by one half and use your knife to cut the fold thus: Keep your left fingers on t...